 While we are between farming adventures, I've had little share in our blog. I hope that will change soon, as we are expecting to move in the next 6 months. Until then, we are living in a small suburban house and yard. I did recently complete a project that is more homesteading-like.
Backstory ... I love to sew. When Jordan was young, I made lots of clothes for her. As she got older, she didn't want homemade clothes other than jammies. I did save all scraps from her toddler years.
 Over Christmas Break, my friend was finishing up two "tie quilts" for her kids (in their 20's). These quilts were made from scraps of jeans and a used comforter. Jeanine and I spent hours using yarn to tie the jean quilt top she made to the comforter. The quilts turned out very cute. And I was inspired.
Add to the inspiration the fact that Jeremy handed me a stack of old jeans with big, non-repairable holes.
The first weekend after Christmas break, Jeremy cut 144 9" squares of old jeans and fabric scraps. I contributed old jeans and so did Jordan. Then I proceeded to make the quilt.
Steps:
 1. Math. A standard queen sized quilt is 92" x 96". If the finished squares are 8" then I need 12 across to have a width of 96". And if I did 1/2" seams on all sides of the squares, then I needed to start with 9" squares.
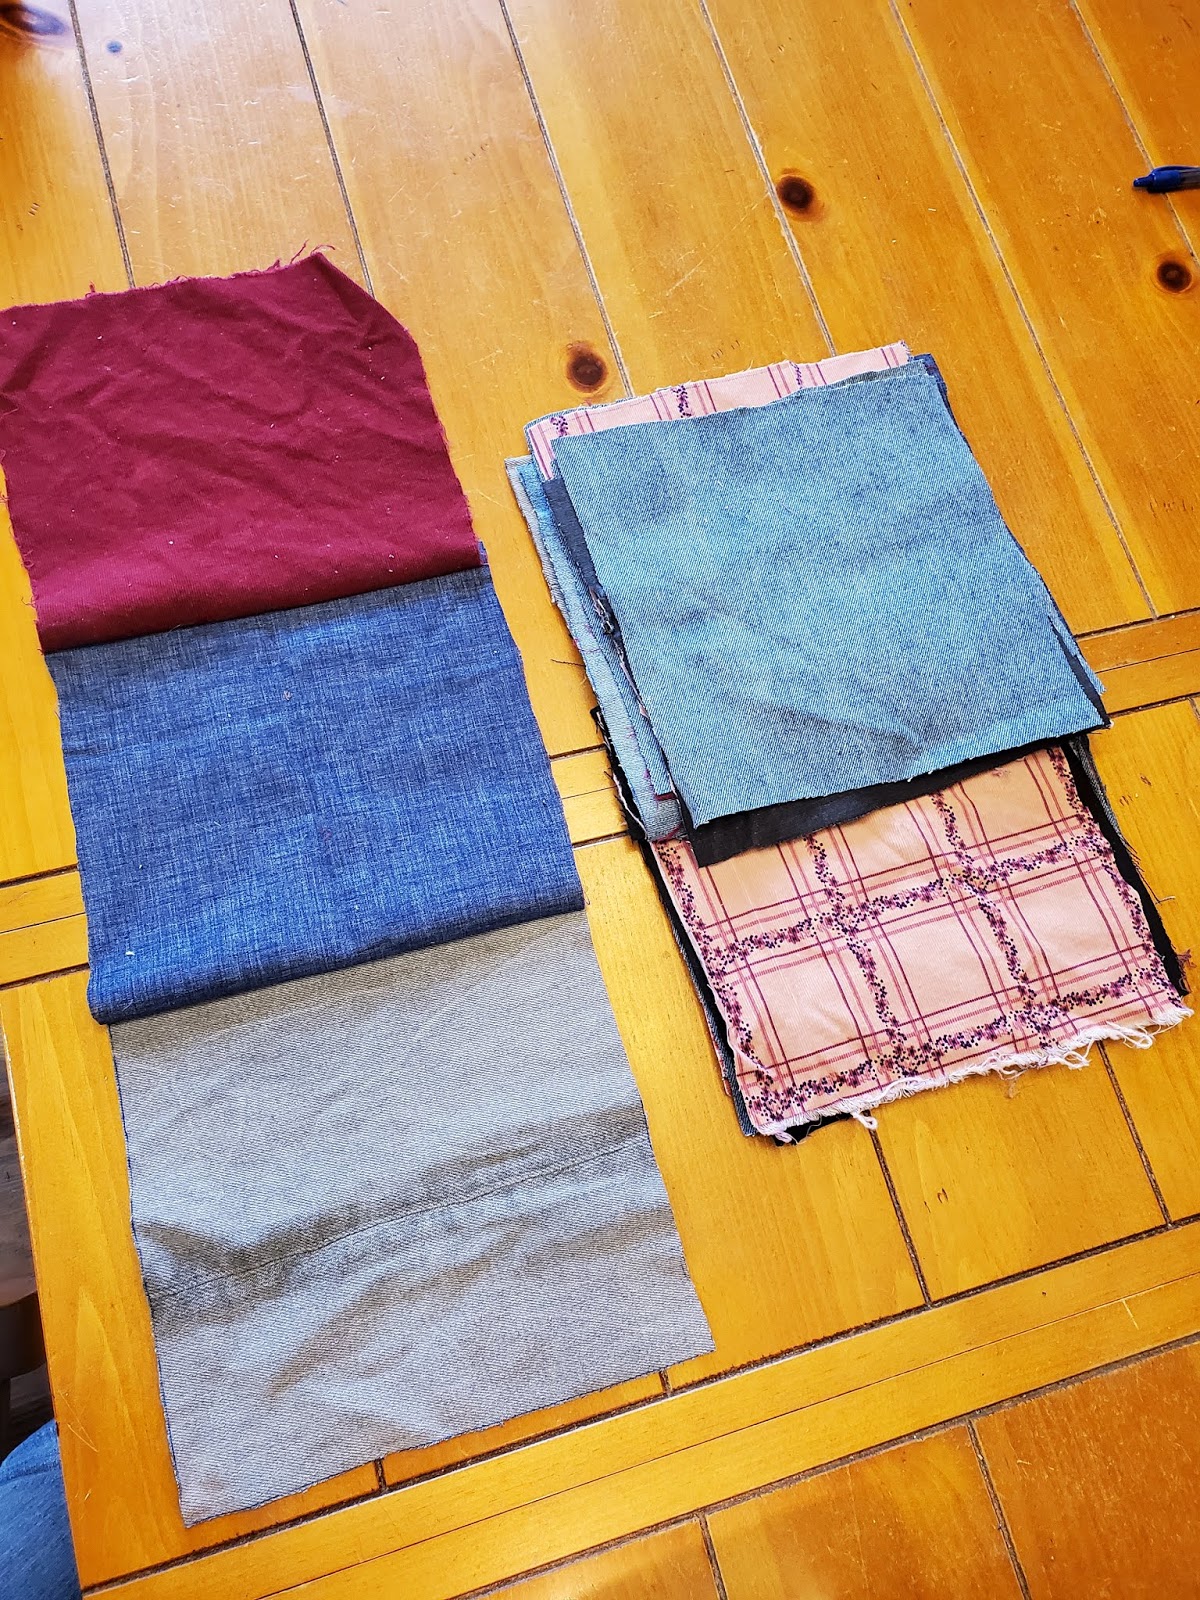
2. Pick your fabric. I have lots of scraps. But I wanted to have a matching theme of colors. Apparently I made a lot of pink items of clothing for Jordan, so pink it was. Make sure everything is washed and dried.
 3. Cutting. Jeremy made a pattern out of heavy cardboard that measured 9" by 9". He used a black pen to draw the squares on the fabric. For the jeans, you can include the back pockets as long as there is at least 1" of fabric all the way around the pocket to stitch. Try to avoid the thick inner seams - Jeremy just cut those out to begin with - but the thinner outer seams are OK.
4. Sewing the squares. You can make a pattern out of the squares or, as I did, you can be random. Stitch each square together, with 1/2" seams, to create a long row with 12 squares. Be sure to iron each seam open.
5. Layout the top. Once you have 12 long pieces of 12 squares each, lay out your work and adjust the rows. I wanted not two accent colors to touch and I wanted the pocket squares to be evenly distributed. Jordan helped. Once you have it, pick up the rows from the top to the bottom so you know the order you will stitch in.
 5 1/2. Patch and sign. Once you know the top and bottom, add a patch to the bottom corner square with the date and your name. Use a fabric marker. You can add a note too. Make it personal.
6. Finish the top. Sew each row together with 1/2" seams. Make sure to iron all seams open. Keep going until you have a 96" by 96" square quilt top. Lay it out and marvel at your work!!!
 7. Pick out backing. You could have done this early too, but I waited. I chose a really soft microfleece with pink, gray and black (we had gray and black jeans in the mix). The math is hard. You had to convert inches to yards to inches. It would help if every bolt had the same width, but no. I admit I did not get it right and had to go back for another yard-and-a-half of backing. I wanted to leave myself 6" spare on each side to work with. I had to sew three pieces of backing together in the end. Wash and dry your backing fabric before you start working it.
8. Get the quilting liner. I chose one with a single fusible side and something pretty thick. In retrospect I wish I had gone thinner because it takes forever for the finished quilt to dry. But she will always be warm! The math is tricky here too. I did manage to do it right the first time, thankfully.
9. Fuse liner to quilt front. This takes FOREVER! Put on a good movie and set up the ironing board in front of the TV. You want to do this step to make sure all of the seams are open and will stay open.
10. Stitch backing. Layout your backing fabric, cut big panels to make a 108" by 108" square. Stitch the panels together. My backing was plaid, so I also had to line up lines. The plaids do hide any small mistakes you make though (and I made plenty).
11. Pin top/liner to back. You need a huge space to work on. I cleared out my dinning room and worked on the wood floor. I laid the backing down and put the top/liner on it. Smoothed and smoothed out everything, then started pinning. I worked from the center to the corners. I did not pin all rows/squares, but I did pin a lot to keep the fabric from bunching.
12. Sew diagonal. Working from the center, sew diagonal across each square to the far corners. This is a really hard part because you are working with so much fabric. I rolled up the side to make it easier, but it was heavy and difficult. My arms were sore and tired by the end. Once you have a big cross sewn from the center to each corner, start working the next diagonal. I did full lines from one edge to the other out to the corner and then rotated the whole quilt. I worked well, but it was hard. I did have some bunching of the microfleece but you have to look closely to see it.
13. Cut edges for finishing. I wanted a 1" edge, so I cut just slightly over 2" around the whole quilt.
14. Pin the edges. For this step, use every pin you can. Fold once to the edge of the top, then fold over the top and pin. I was working on the dining room floor again - the wood floor was perfect although my butt hurt afterwards from sitting on the floor for an hour. The corners are tricky. I didn't do a great corner - you may want to google some options. I pinned every 3" to make sure the edges looked good and had no bunching.
15. Sew the edges. Sew the inner edge of the folded over backing. Sew as close to the edge as you can. All the way around. I crossed my corners with stitching. Again, my corners aren't great and I'm sure there are better/cleaner ways to do it.
After having done this I can say, I will NEVER make a queen-sized quilt again. That amount of fabric is crazy difficult to work with. I could have made it easier with a thinner lining, but it would have still been a challenge to manage through the sewing machine. Other than the size, it was easy if time consuming. If I make a quilt again, it will be a twin-sized or smaller or a picnic blanket.


No comments:
Post a Comment